What Is Phantom Audio?
Phantom Audio is classified as an adware that will produce a bunch of unstoppable ads to disturb computer users once invade into the target PC. The ads from Phantom Audio pop up all the time and are filled with the screen which may not only interrupt users to surf the internet freely, but also block people to access other applications in the infected PC.
Please do not click any of the ads from Phantom Audio as some of them are related to malicious websites. Once you have clicked them, you will be navigated to the websites that contains other computer threats such as browser hijackers, Trojan horses, spyware, etc.
Gradually, Phantom Audio reduce the performance of the infected PC as it takes up a plenty of computer resources and cause system vulnerability by chiseling up backdoor in the background.
In short, the longer Phantom Audio stays in your PC, the more damages it will make to the infected PC. You are advised to remove this nasty Phantom Audio adware without any hesitation.

How to Remove Phantom Audio Easily and Efficiently?
The following passage is going to provide the step-by-step instruction on removing Phantom Audio or any other unwanted adware. Please read carefully and try to understand the removal guide below.
STEP 1: Remove Phantom Audio Associated Program from Web Browsers
STEP 2: Remove Phantom Audio with SpyHunter
STEP 3: Double Check by Using RegCure Pro
STEP 1: Remove Phantom Audio Associated Program from Web Browsers
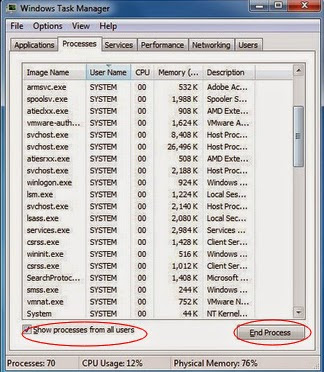
1. Stop Phantom Audio running process in Windows Task Manager.
Press Ctrl+Shift+Esc together to open Windows Task Manager, click Processes tab, find its running process and click on it, then click the End Process button.
2. Uninstall Phantom Audio in Control Panel.
Click Start > Control Panel > Uninstall a program > find suspicious program and right click on it select Uninstall to uninstall the program.

3. Remove Phantom Audio from web browsers.
Internet Explorer:
1) Open Internet Explorer, click on the gear icon > "Manage Add-ons".
2) Unknown entries, locate and delete them.
3) You can change the home page, click the gear icon and choose "Internet Options".
4) Enter your preferred domain name.
5) To change the default search engine, click on the gear icon, select "Manage Add-ons" > search engine
6) Place your favorite search engine.
Mozilla Firefox:
1) Open Mozilla Firefox, please click on the icon menu (top right) and select "Add-ons" > "Extensions".
2) Here select unknown Add-ons and select the trash can icon to delete these entries.
3) You can change the home page, click on "Firefox", select "Settings".
4) Enter your favorite site.
5) You can change the default search engine by clicking on the menu icon and the question mark icon.
6) Here, you click on the "Fix" and click on "Restart Firefox".
Google Chrome:
1) Open Google Chrome, please click on the icon menu (top right) and select "Tools" > "Extensions".
2) Select suspicious extensions and select the trash icon to delete these entries.
3) You can change the home page, click the "Settings" tab, go to "Search" and then click on "Manage search engines…".
4) Here, remove unwanted website addresses by clicking on the "X", enter your preferred site, and then click "Make Default".
4. Restart your computer to take effect.
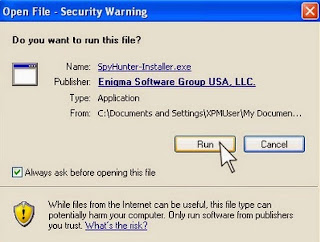
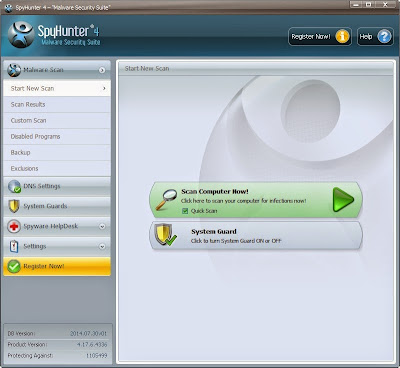
STEP 2: Remove Phantom Audio with SpyHunter
SpyHunter is a powerful, real-time anti-spyware application designed to assist the average computer user to detect, remove, and protect their PCs from the latest malware attacks. Here shows how it works:

2. Click the Run button to enter the setup program and follow the installation steps until setup is complete.
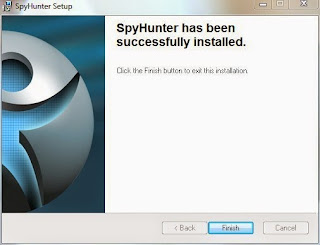
3. When the installation is complete, click the Finish button to exit the installation.
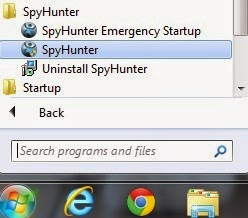
4. If SpyHunter does not automatically start, click the icon on your desktop or Start menu to open it.

5. Allow the program to scan by clicking the Scan Computer Now! button. If you would like to have a quick scan on your PC, please check the Quick Scan box; otherwise, uncheck it.
6. The first scan will take some time, please be patient while waiting for the scanning result.
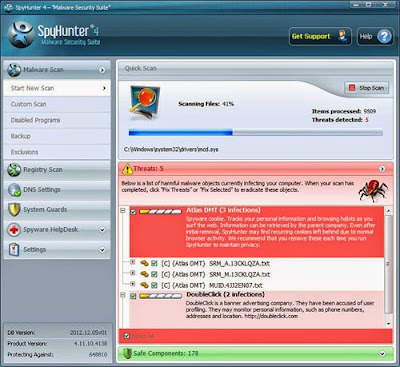
7. After the scan is done, you can see that all threats are successfully detected. Check the Select All box and then click the Remove button to fix all threats in your PC.

>>Click Here to Download SpyHunter to Protect Your PC from Malicious Threats!<<
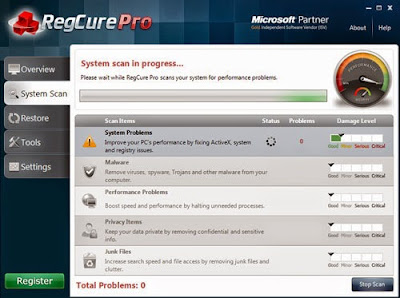
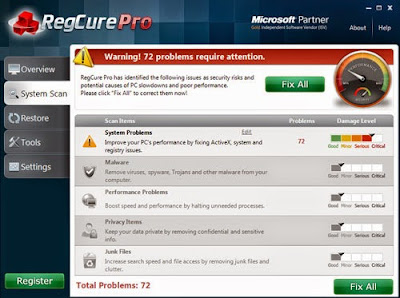
STEP 3: Double Check by Using RegCure Pro
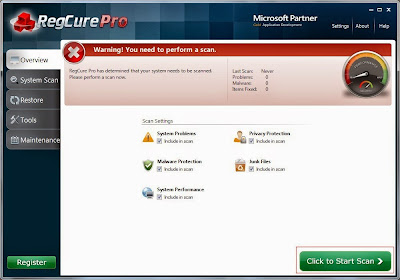
RegCure Pro is an advanced optimizer which is able to solve your computer system problems, remove your privacy items produced by online searches, delete junk files, uninstall malware and fix performance problems. Here shows how it works:
1. Free download RegCure Pro by clicking the below button.

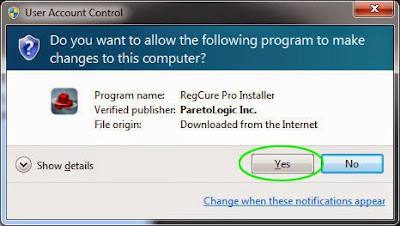
2. Click the Yes button to enter in installation process and then follow the instruction to install the program step by step.
3. When the program is successfully installed, double click on its desktop shortcut to open it. On the Overview tab, check all the scan settings and then click on the Click to Start Scan button to run a system scan on your computer.
5. When the system scan is done, click on Fix All button to completely remove all the performance problems in your computer.
>> Click Here to Download RegCure Pro to Fix Slow PC Performance! <<
Good Luck and be safe online.
No comments:
Post a Comment