After its installation, Biggest Deals can be added onto your system as a browser extension or add-on. It is easier and more convenient to track your browsing history and collect your private information for marketing usage. From then on, numerous blocking pop-up ads by Biggest Deals varying as underlined keywords, pop-up ads or advertising banners will be flooded on your screen when you surf the web.
Aside from giving you many annoyances, those ads by Biggest Deals may cause further damages as most of them contain malicious infections. Please do ignore the pop-up ads released by Biggest Deals and try your best to get rid of the troublesome adware as quickly as you can.
How to Remove Biggest Deals Easily and Efficiently?
The following passage is going to provide the step-by-step instruction on removing Biggest Deals or any other unwanted programs. Please read carefully and try to understand the removal guide below.
STEP 1: Remove Biggest Deals from Web Browsers
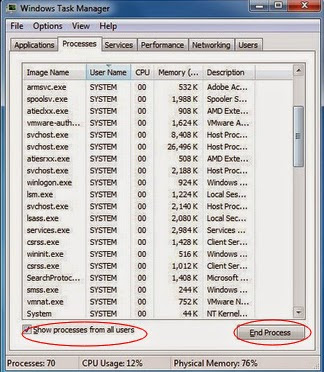
1. Stop Biggest Deals running process in Windows Task Manager.
Press Ctrl+Shift+Esc together to open Windows Task Manager, click Processes tab, find suspicious running process and click on it, then click the End Process button.
2. Uninstall Biggest Deals in Control Panel.
Click Start > Control Panel > Uninstall a program > find suspicious program and right click on it select Uninstall to uninstall the program.

3. Remove Biggest Deals from web browsers.
Internet Explorer:
1) Open Internet Explorer, click on the gear icon > "Manage Add-ons".
2) Unknown entries, locate and delete them.
Mozilla Firefox:
1) Open Mozilla Firefox, please click on the icon menu (top right) and select "Add-ons" > "Extensions".
2) Here select unknown Add-ons and select the trash can icon to delete these entries.
Google Chrome:
1) Open Google Chrome, please click on the icon menu (top right) and select "Tools" > "Extensions".
2) Select suspicious extensions and select the trash icon to delete these entries.
4. Restart your computer to take effect.
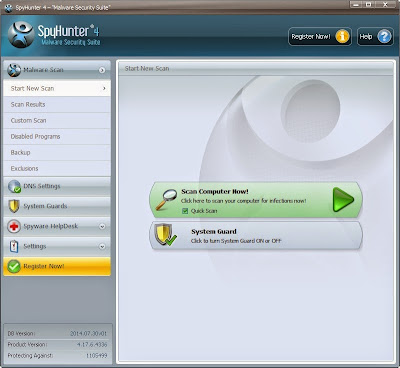
STEP 2: Remove Biggest Deals with SpyHunter
SpyHunter is a powerful, real-time anti-spyware application designed to assist the average computer user to detect, remove, and protect their PCs from the latest malware attacks. Here shows how it works:

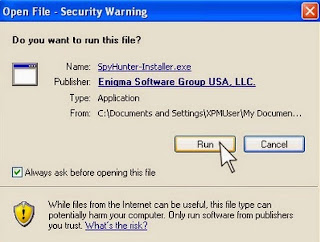
2. Click the "Run" button to enter the setup program and follow the installation steps until setup is complete.
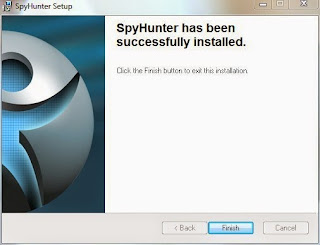
3. When the installation is complete, click the "Finish" button to exit the installation.
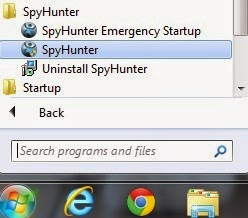
4. If SpyHunter does not automatically start, click the icon on your desktop or Start menu to open it.

5. Allow the program to scan by clicking the "Scan Computer Now!" button. If you would like to have a quick scan on your PC, please check the "Quick Scan" box; otherwise, uncheck it.
6. The first scan will take some time, please be patient while waiting for the scanning result.
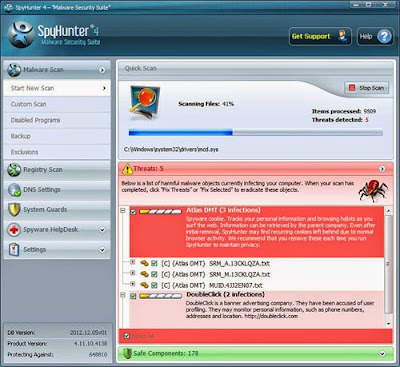
7. After the scan is done, you can see that all threats are successfully detected. Check the "Select All" box and then click the "Remove" button to fix all threats in your PC.

Note: SpyHunter's free version is only for malware detection. To remove the malware threats from your PC, you will need to purchase SpyHunter's
malware removal tool.
>>Click Here to Download SpyHunter to Protect Your PC from Malicious Threats!<<
STEP 3: Optimize Your PC Using RegCure Pro
RegCure Pro is an advanced optimizer which is able to solve your computer system problems, remove your privacy items produced by online searches, delete junk files, uninstall malware and fix performance problems. Here shows how it works:
1. Free download RegCure Pro by clicking the below button.

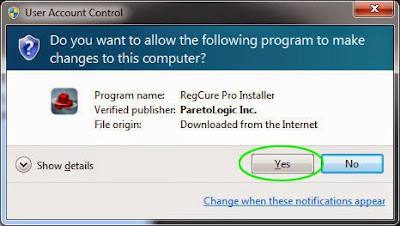
2. Click the "Yes" button to enter in installation process and then follow the instruction to install the program step by step.
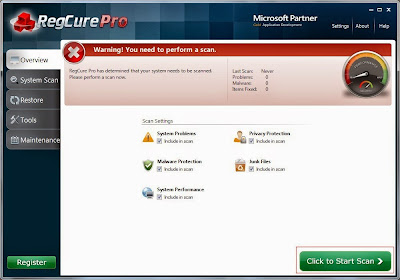
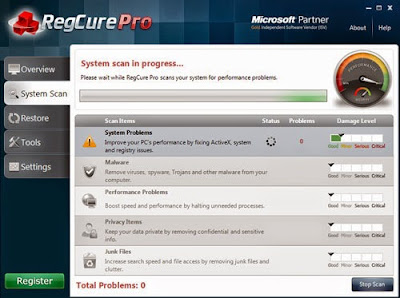
3. When the program is successfully installed, double click on its desktop shortcut to open it. On the Overview tab, check all the scan settings and then click on the "Click to Start Scan" button to run a system scan on your computer.
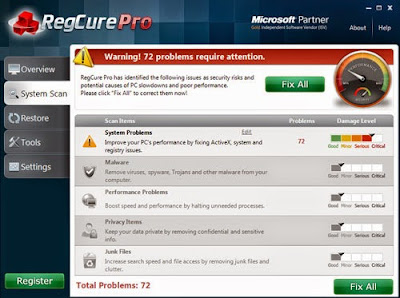
5. When the system scan is done, click on "Fix All" button to completely remove all the performance problems in your computer.
>> Click Here to Download RegCure Pro to Fix Slow PC Performance! <<
Good Luck and be safe online.

No comments:
Post a Comment